The Health Bar Is a Spreadsheet: Risk Math That Fixes Your Worst Decisions
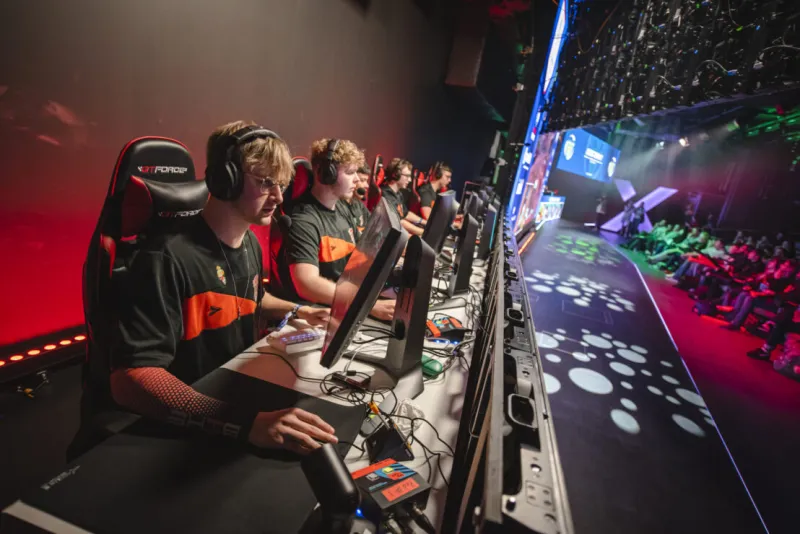
Photo: esports player analyzing gameplay on monitor with focused expression, via britishesports.org
A life lead is not a victory lap. It's a piece of information, and like any information in a fighting game, it's only worth what you do with it. Most players respond to being ahead in one of two ways: they either slam the brakes and hand the lead back, or they get greedy and give it away in a single bad interaction. Both mistakes come from the same place — treating I'm winning as a feeling instead of a number.
Here's the fix: do the math.
The Two Ways a Lead Dies
Coasting looks like this: you get up 40%, so you start backing up. You give away the corner. You stop contesting space. You let your opponent build meter for free and run their game plan unanswered. Twenty seconds later you're in the corner with no meter and the lead is gone.
Panic looks like this: you get up 40%, decide you need to close it out, and jump in on an opponent who has been waiting for exactly that. You eat an anti-air into a combo, and now it's a one-touch game.
The middle path is arithmetic. You have three numbers to track: health difference, time remaining, and resources. Corner position is the multiplier on all three.
Health Difference: The Thresholds
Treat the health bar like a budget. These bands are rough, not gospel, but they'll get you out of the habit of playing every round the same way.
- Up 40% or more, 30+ seconds left. Low-variance mode. Block more. Anti-air. Take the throw instead of trying to tech into a 50/50. You don't need to win another interaction; you need to not lose two.
- Up 20–40%. Press your advantages — meaties, frame traps, smart pressure — but skip the coin flips. No raw jump-ins. No wake-up gambling. If a mix-up is free, take it. If it costs meter and risk, pass.
- Even, or within 10%. Play your game. This is where your normal style belongs.
- Down 20% or more. Variance is your friend now. The 50/50 you'd skip with a lead is worth taking when you're behind, because a loss is already the likely outcome. You need to change the distribution, not protect it.
- Down 40% with under 20 seconds. You need a miracle. Take the gamble. Nobody remembers a careful loss.
Why the Same 50/50 Changes Value
Think about a mix-up that wins half the time and loses half the time. When it wins, you deal 30%. When it loses, you take 40%. If you're up 50%, that trade is terrible — you're risking a comfortable position for a coin flip. If you're down 40% with 15 seconds left, that same trade is correct, because blocking out the clock loses anyway.
The option didn't change. The situation did. That's the entire lesson.
Timer Math
With 45 seconds left, you can usually afford two more full interactions. With 30 seconds, one. With 15 seconds and a lead, you can afford zero risks — the clock is your best defensive tool.
The mistake players make is checking the timer only when it's almost gone. Check it at every knockdown. If there are 12 seconds left and you're up 15%, there is no reason to wake-up attack. Block, take the throw, get up, win.
Corner Position Is a Multiplier
A 25% life lead feels a lot smaller when you're in the corner. Cornered players take more damage per interaction because every hit leads to more pressure, and every blocked string pushes you closer to the edge. If you're ahead but cornered, your effective lead is smaller than the number suggests. Spend resources to get out. That's not panic — that's accounting.
Three Real Situations
Situation one. You're up 35%, 40 seconds left, both players have two bars. Your opponent whiffs a big normal. You could punish with your flashy 45% route that costs a bar — or take the safe 20% route and keep your meter. Take the safe route. The flashy one is for when you need damage, not when you need certainty.
Situation two. You're down 30% with 25 seconds left and one bar. Your opponent is playing patient. You need to force an interaction. Walk forward, threaten a throw, take a calculated risk. Standing still is a loss.
Situation three. You're up 10% with 8 seconds on the clock. Do not jump. Do not wake-up attack. Do not do anything that requires your opponent to cooperate. Block, backdash, and let the clock finish the job.
The One-Question Rule
Before any risky option, ask: if this loses, do I still have a path to win? If the answer is no, don't do it. That single question will save you more rounds than any combo you'll ever learn.
The health bar is a spreadsheet. Read it.